Since many landscapers offer snow removal services during the cold season, Yardbook has created a set of workflows optimized for these types of jobs. They will help you with scheduling, tracking and billing. The goal is to minimize the amount of work it takes to create jobs, track them, and finally convert them into invoices.
Key Workflows
- Define Prices
- Create Route Templates
- Schedule/Dispatch Jobs
- Generate invoices
Define Prices
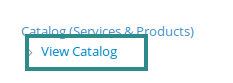
With the “Property-based pricing” feature, you can set up different prices based on the property. (Note: You only need to define these one time for set-up purposes, unless you wish to edit them.) For example, you can add a “Snow Removal” service in your product catalog, and then add different prices to the service. Later, we can use these prices for billing. First, navigate to your Product Catalog page: Sitemap -> Catalog -> View Catalog
Click on the green “Add” button to add a new service product.
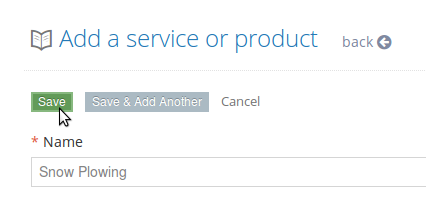
Enter “Snow Plowing” in the name field. Click on “Save”.
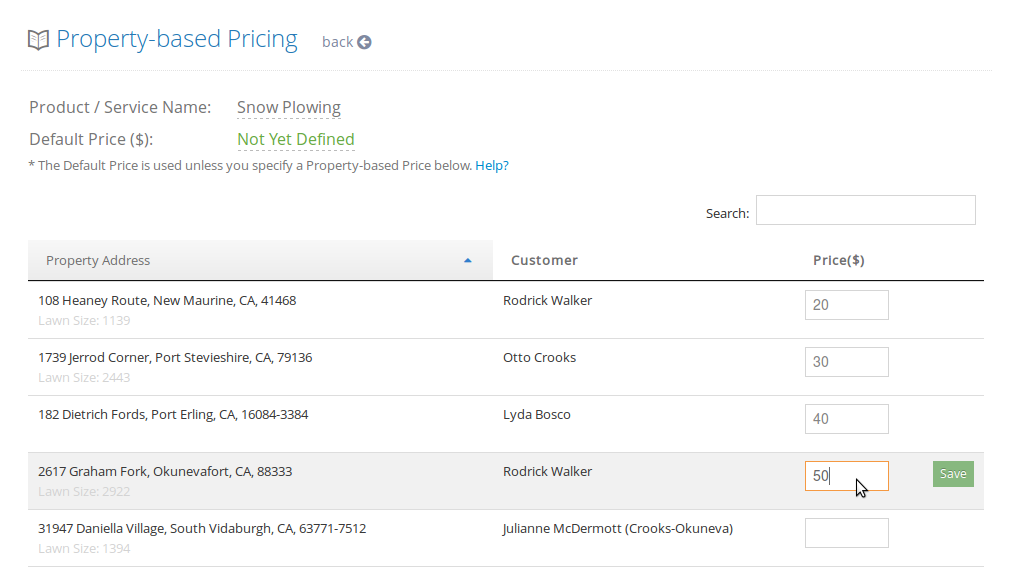
Once the service has been added to our catalog, click on the “Property-based Pricing” link.
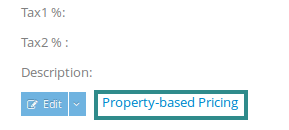
This is the page where you can define custom pricing for each property.
If you’d like, you can also create different services based on your pricing needs. Then add property-based pricing for each service. For example:
- Snow Plowing (0.1-5 inches)
- Snow Plowing (5-10 inches)
Create Route Templates
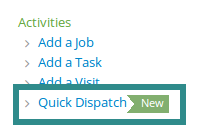
Similar to setting prices ahead of time, defining a set of snow routes (aka route templates) will significantly speed up the time required to dispatch jobs. To create a route template, first navigate to the “Quick Dispatch” view from your Sitemap.
Then, click on the “+ Template” link.
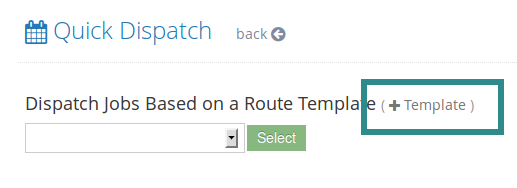
This will take you to the Route Templates page. Click on the “+ Add” button.
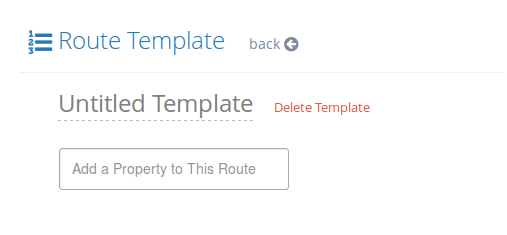
Enter a name for your template, ex “Snow Route 1”, and proceed to add a few properties to this route. You can also drag and drop route items to re-position them in the route.
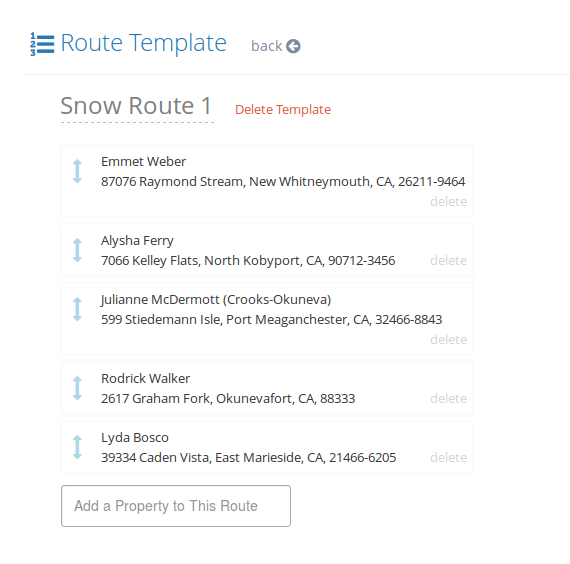
Once this is done, you are ready to dispatch jobs!
Schedule/Dispatch Jobs
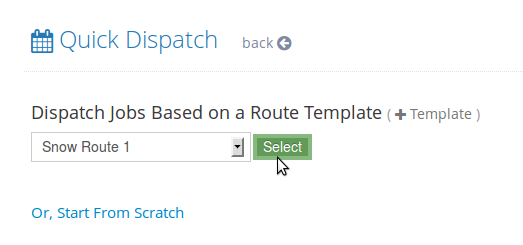
To dispatch jobs for snow removal, we will use a feature called Quick Dispatch. Navigate to the Quick Dispatch page through your Sitemap view.
Here, you will see “Snow Route 1” in a drop-down list. Click on “Select” to start the dispatch process.
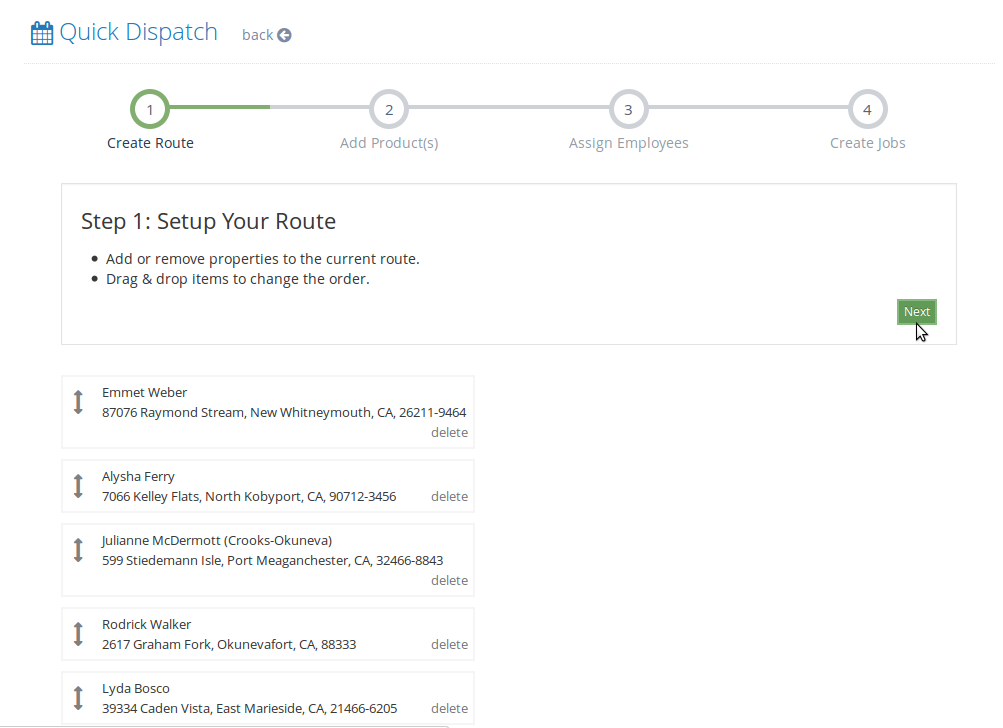
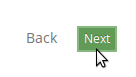
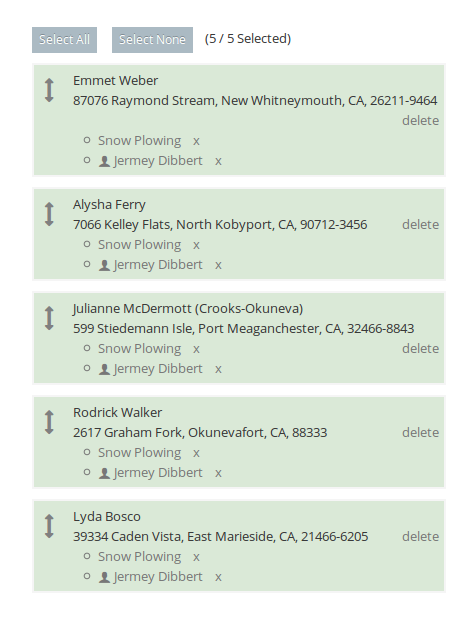
As you can see, the Quick Dispatcher will automatically copy the Snow Route 1 to your dispatch items list. You can again re-position these properties if you’d like. Once you’re happy with the ordering of the dispatch items, click “Next”.
In the next step, you can add services or products from your catalog. Start typing a product name and Yardbook will show you a matching product in the drop-down list. In this case, we will select “Snow Plowing”. Click on the “Add to Jobs” button to add the product/serivce to the dispatch items.
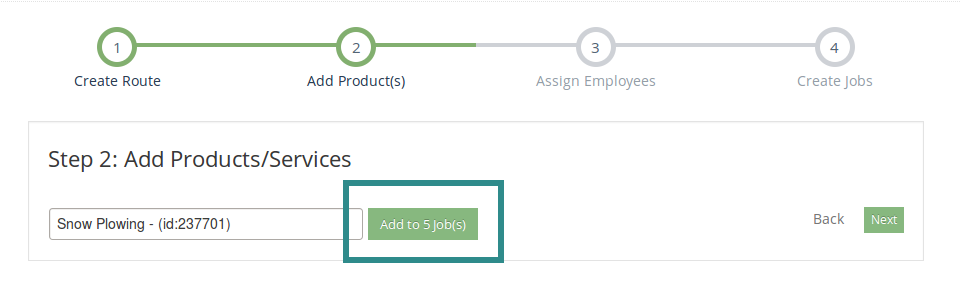
You can verify that the service has been added to your dispatch items in the list below.
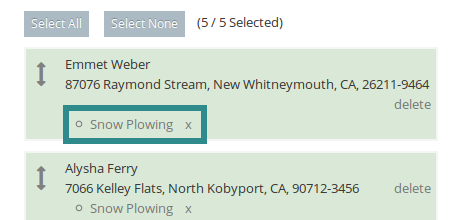
Note: The product/service will only be added to selected items, which are highlighted in green. You can continue to add other services to some or all of the dispatch items. Once you are done, click “Next”.
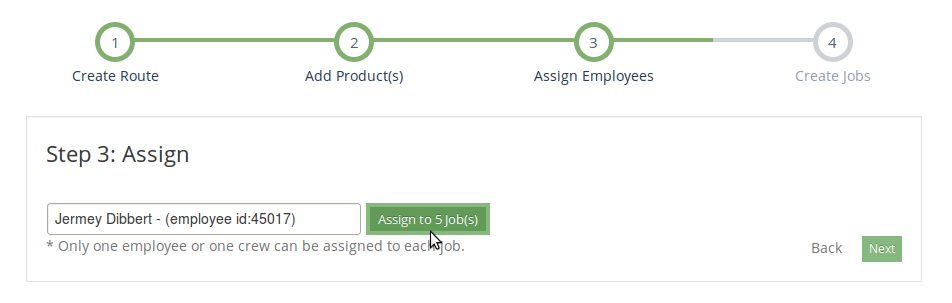
In the next step, you can assign an employee or a crew to these items. If you don’t manage any crews, you can skip this step click on “Next”.
Finally, in the last step, you will enter a date for which the jobs will start.
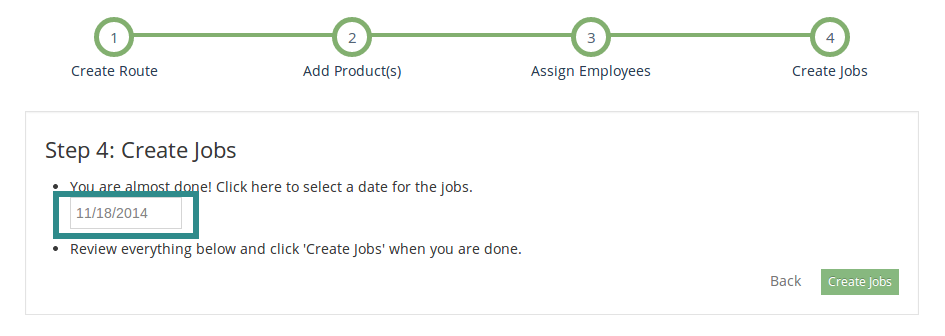
It’s also a good idea to review all the dispatch items in case you’ve made a mistake.
Once you are done, click on the “Create Jobs” button.

At this point, your new jobs are being processed, which should take no more than a couple of minutes. Once everything is done, you will get an email notification from Yardbook.

When you return to the Jobs View, you will now see the newly created jobs. (Note: You may need to refresh/reload the page). A route is also added for the scheduled date containing all these jobs. You can see the route in the “All all Routes” view (accessible from your Sitemap).
Generate Invoices
The Quick Dispatch process above creates jobs which are billable. It works well with the Auto Generate Invoice process. Also, since we have already set up property-based pricing, the Auto Generate Invoice process will leverage the pre-defined pricing for your services.
Link to Auto Generate Invoice FAQ.