Yardbook premium users already have access to text messaging using standard templates provided by Yardbook. These templates cover most common scenarios. Now, premium account users with a dedicated number from Twilio can create their own text message templates for an even more customized experience.
Set Up a New Template
First, Navigate to your “Company Settings” page. If you’ve linked a valid dedicated number, you’ll see a link to set up your custom text message templates.
Sitemap -> Company Profile -> Settings
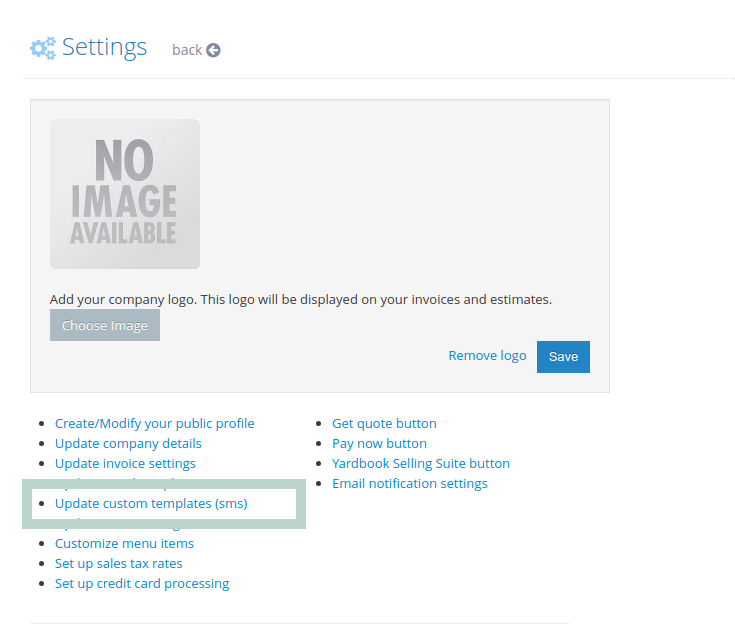
Click on the “Update custom templates (sms)” link.
Then, click on “+Add” to start creating a new template.
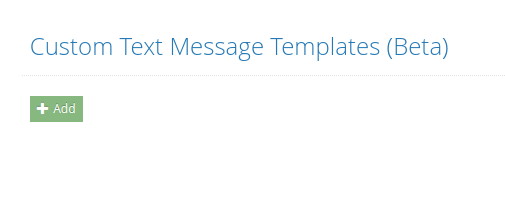
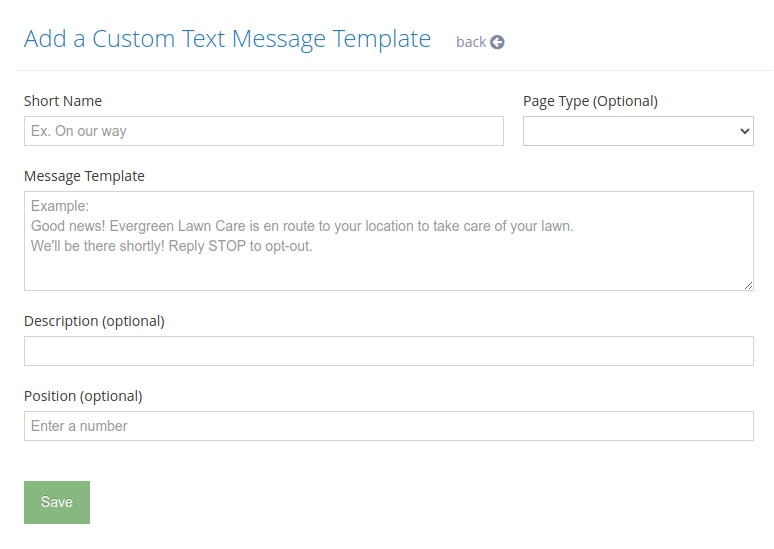
This will take you to the “Add a Custom Message Template” Page.
Field Level Details
Template Name: Enter a short name for your template (e.g., “On our way”). This name will be displayed to help you select this template.
Page Type (Optional): Specify where this template will be available:
- All Pages: Available on all text message pages.
- Invoices: Only available when sending texts from an invoice page.
- Jobs: Only available when sending texts from the jobs page.
Message Template: Enter your message. You can use placeholders to automate your messages (e.g., [job_description], [job_address], [job_start_date], [job_notes]…)
Position (Optional): Specify the position of this template in the list.
Placeholder Options
You may use the following placeholders in the templates and the system will automatically replace them with the correct values.
All Templates
- [customer_name]
- [customer_address]
- [company_name]
- [company_phone]
- [company_primary_contact_name]
- [company_primary_email]
- [customer_catalog_link] (?)
- [custom_form_link_KEY] (?)
Job Related Templates (More info)
- [job_description]
- [job_address]
- [job_start_date]
- [job_notes] (?)
- [job_before_and_after_photos] (?)
- [job_product_service_descriptions] (?)
- [post_job_instructions] (?)
- [job_attached_forms] (?)
- [job_chemicals_applied]
Invoice/Estimate Templates
- [invoice_link]
- [invoice_number]
- [invoice_type]
- [due_date_text]
Once you’ve entered all the details, click on the “Save” button.
Using a Message Template
First, you need to open the “Send Text Message” Page. There are several ways to navigate to this page.
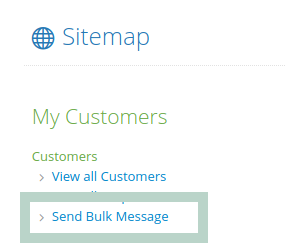
Bulk Messages: Go to Sitemap -> Customers -> Send Bulk Messages.
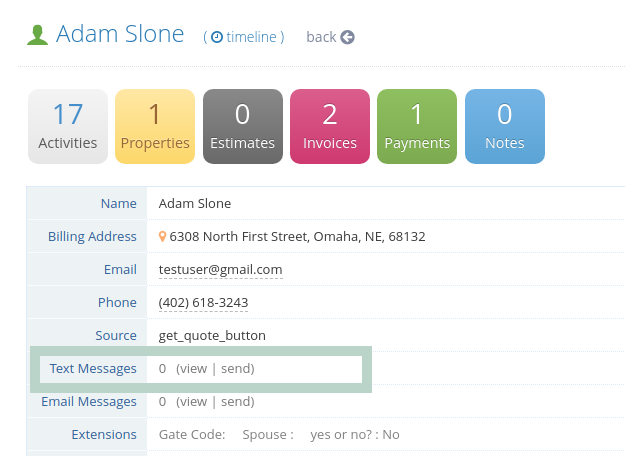
Customer Details Page: Send a text message directly from the customer’s details page.
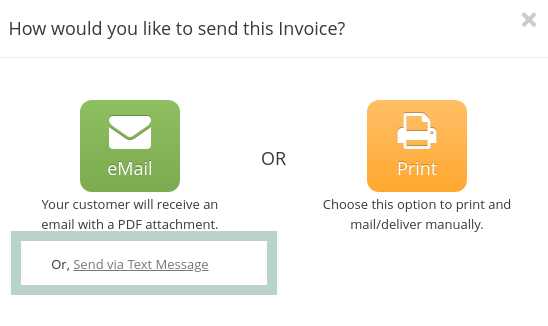
Invoice Page: Send a text message from an invoice page. You’ll see both normal and “Invoice” page type templates here.
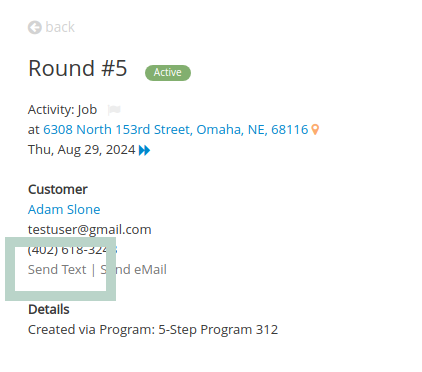
Jobs Details Page: Send a text message from the job details page. You’ll see both normal and “Job” page type templates here.
Using Your Custom Message Template
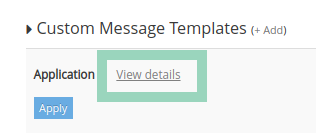
Select a Template: On the Send Text Message page, navigate past the message field to see your custom templates listed in the order you defined. Click on the “Apply” button next to the template you want to use.
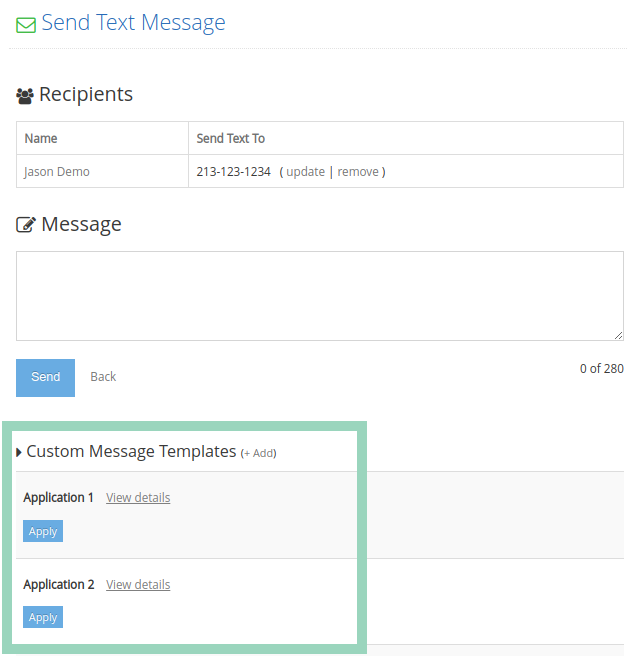
If you want to review the message before applying it, click on the “View Details” link to see the detailed message.
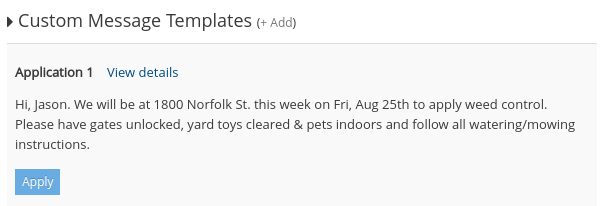
Note: If sending to a single customer, placeholders will be replaced with actual values. If sending to multiple customers, placeholders will remain as names.
After clicking the “Apply” button, the template message will populate the Message Body field. Edit the message if needed or keep it as is.
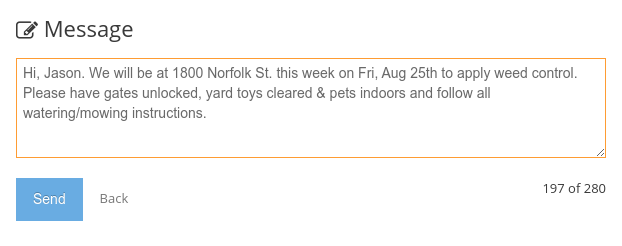
Finally, click on the “Send” button to dispatch your text message.
By following these steps, you can effectively set up and use custom text message templates in Yardbook, providing a more tailored communication experience for your business.