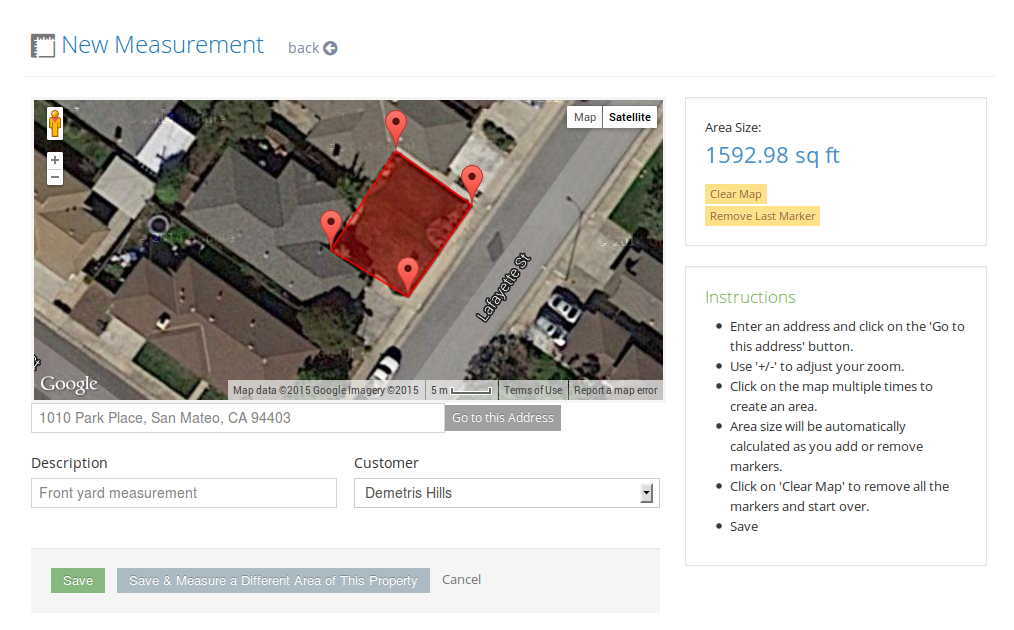
First, navigate into an Estimate or an Invoice. Scroll down to the Lot Measurement field and click on the ‘Add’ button. This will take you to to the New Measurement page. You will now need to:
-Enter an address and click on the ‘Go to this address’ button.
– Use ‘+/-‘ to adjust your zoom.
– Click on the map multiple times to create an area.
– Area size will be automatically calculated as you add or remove markers.
– Click on ‘Clear Map’ to remove all the markers and start over.
– Save changes!
This feature can also be accessed through the Property Details Page. Once you navigate to a Property’s Detail page, scroll to the ‘Measurements’ Section (middle of the page) and click on the green ‘+Add’ button.
Download / Print
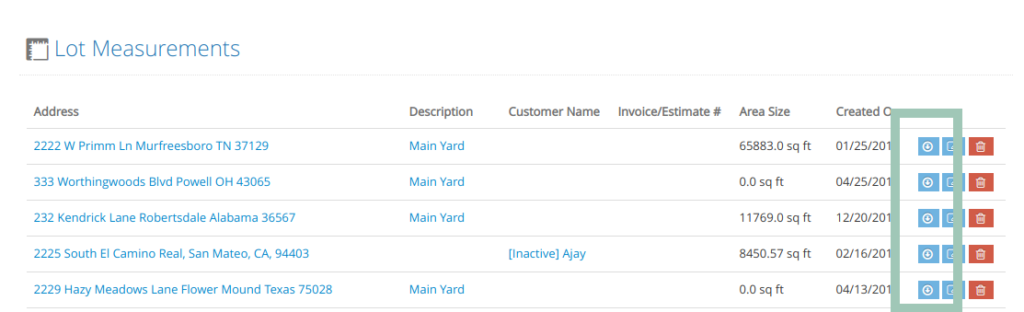
You can download any measurement data onto a PDF file. This PDF file will be stored on your computer/mobile device, and you will be able to print it out or email to your clients as an attachment.
Navigate to the the Measurements List View.
Sitemap -> Estimates -> Lot Measurements
Then click on the download icon next to a measurement record to save it as a PDF file.
Property Level Controls
We have taken user feedback into consideration and implemented enhancements to our lot measurement feature. In our latest update, we are adding increased control over your property records. Previously, creating a lot measurement record required manual transfer of measurements to the associated properties. However, with the addition of four new checkboxes, this process can now be automated.
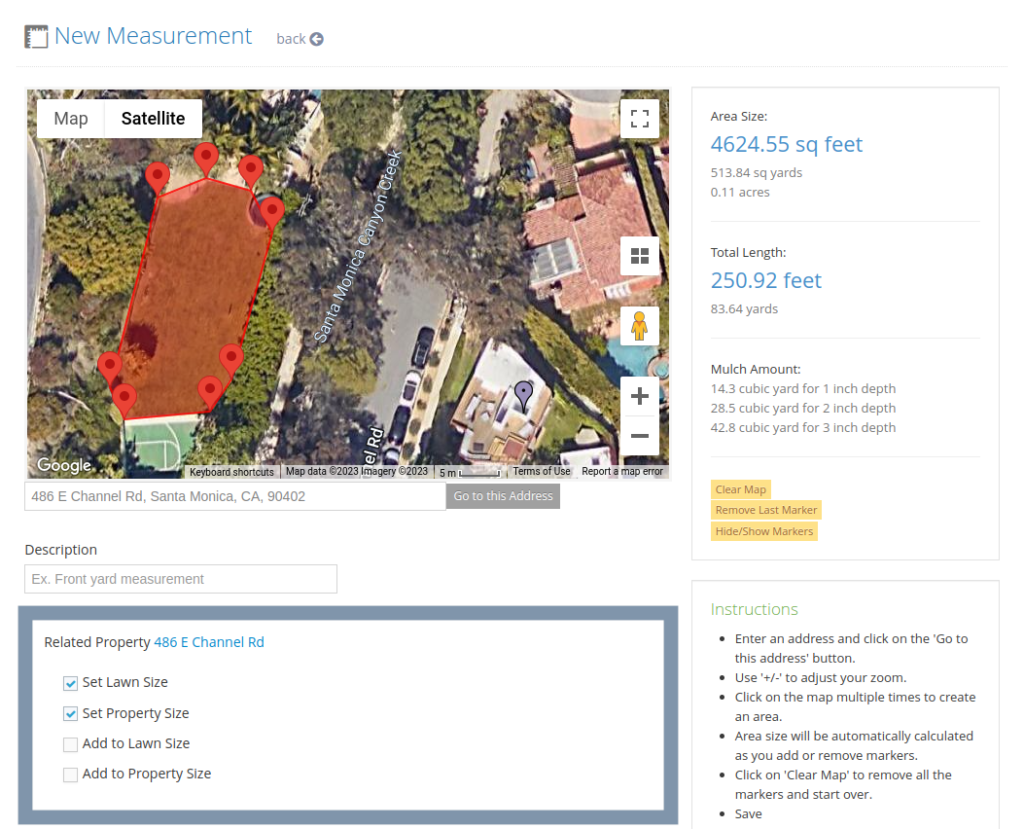
These checkboxes offer you the flexibility to automatically add the current measurement to your property’s lawn or property size, or alternatively, replace the existing values with the new measurement.
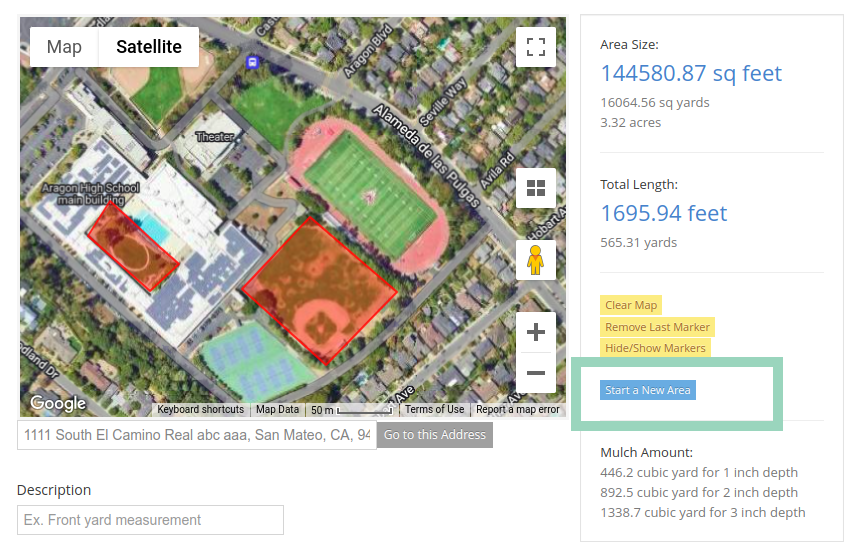
Measure Multiple Areas
Now you can measure multiple areas on the same property.
Click on the “Start a new area” button when you are ready to measure a different area.