The Customer Tag Manager lets you add and manage tags across many customer records from one screen. Use it to quickly find a segment (by tag or search), select multiple customers, and apply a tag in one step—no more editing customers one at a time.
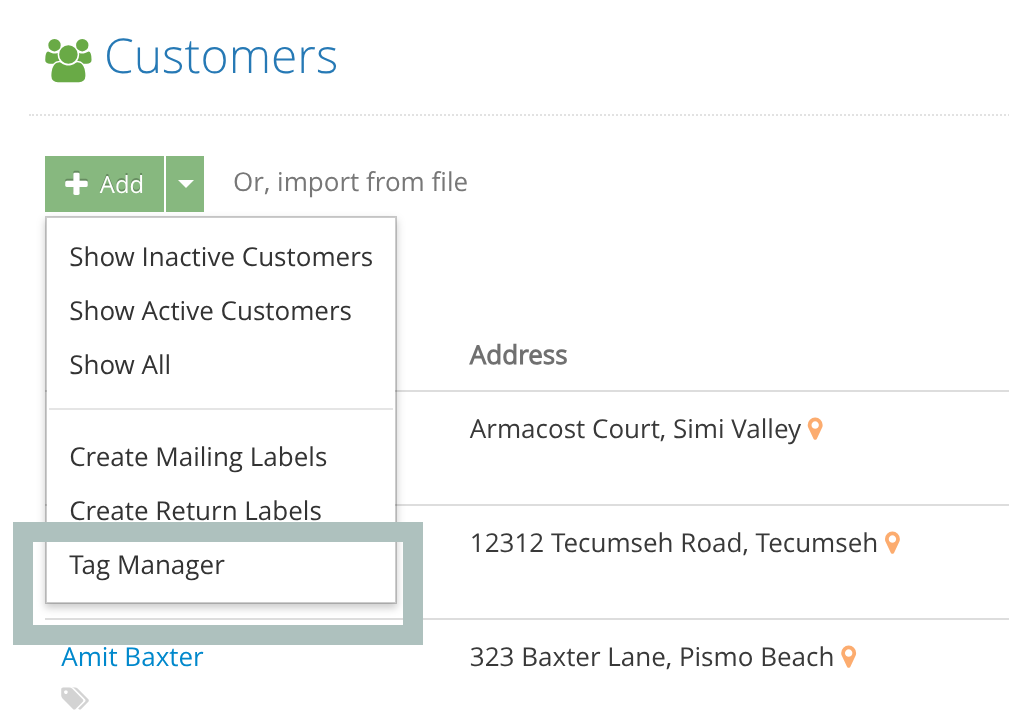
Navigate to the Tag Manager View from your Customer List.
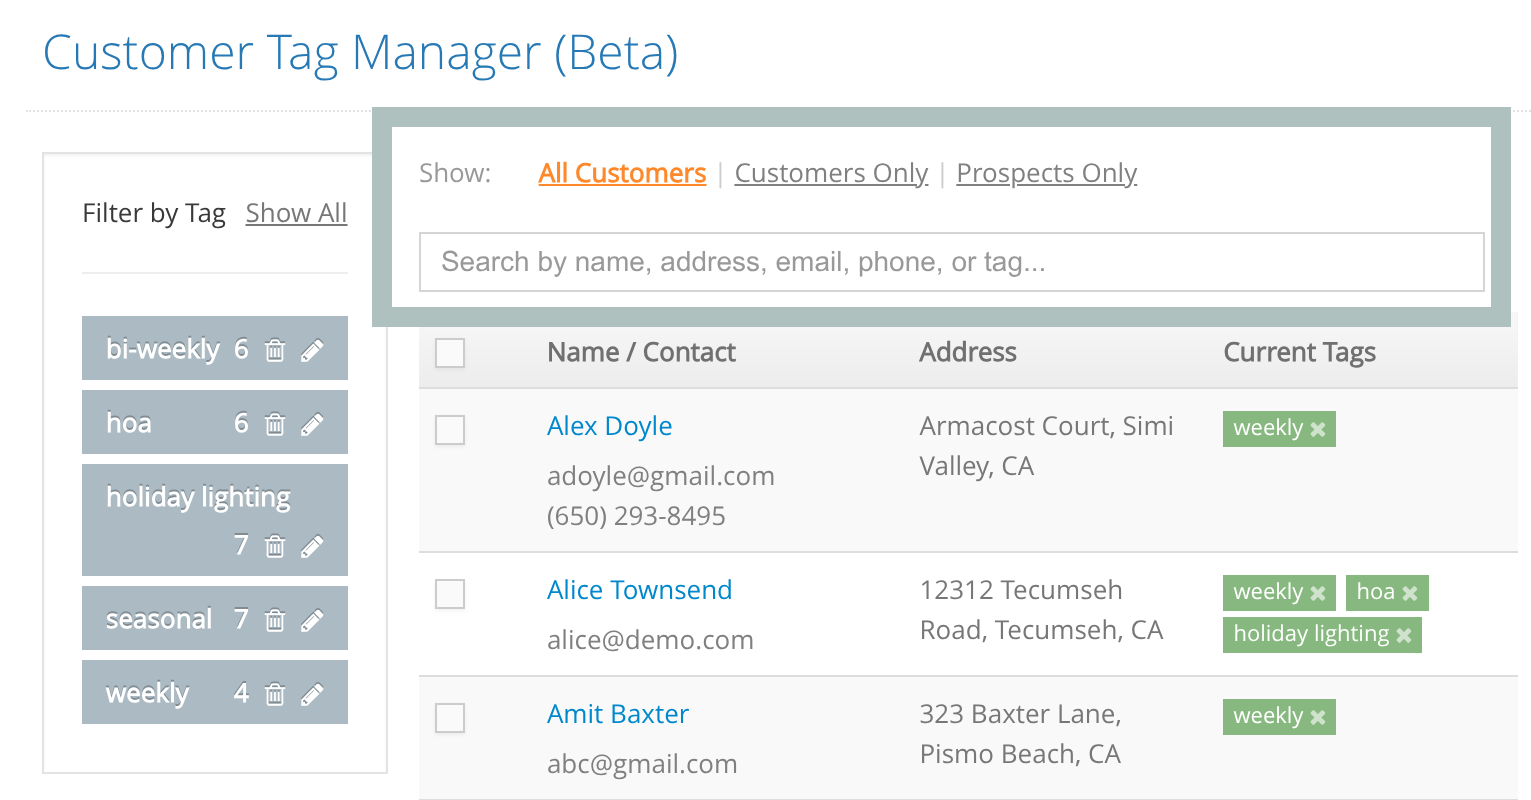
Find the right customers (filter or search)
Use the tag list on the left to filter the table to customers with a specific tag. Click Show All to clear filters and return to the full list.

You can also use Quick Search to filter the table by name, contact info, address, or tag text.
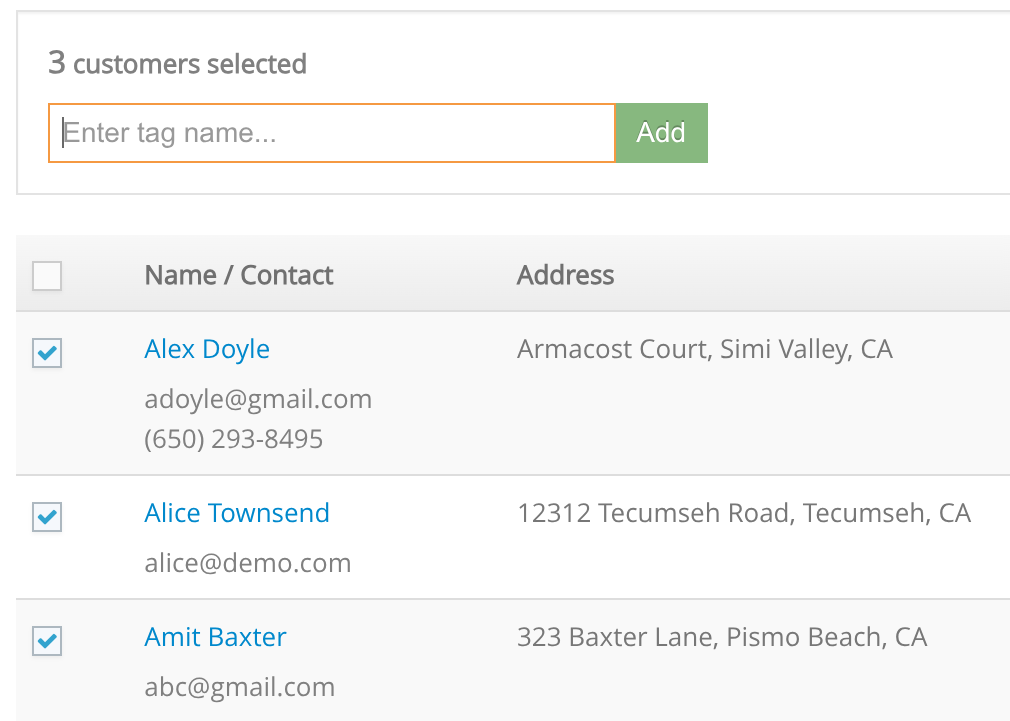
Bulk add a tag to multiple customers
- Select customers using the checkboxes in the table.
- A bulk actions panel appears showing how many customers are selected.
- Enter a tag name and click Add. The selected customers will receive that tag.
Tip: Filter or search first, then select customers from the narrowed list to tag a specific segment faster.
Remove a single tag
To remove a tag from a single customer, click the ✕ on that customer’s tag label in the table.

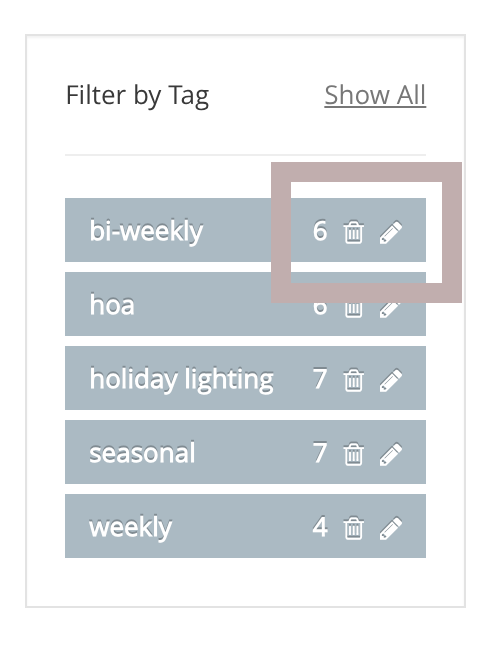
Rename or delete a tag everywhere
In the sidebar next to a tag:
- Rename updates the tag name whereever it appears.
- Delete removes the tag from all customers (you’ll be asked to confirm).