Adding tags to your customers is a flexible and powerful way for you to manage your customers based on your own workflows. Some businesses like to track Customers based on sales stage (Ex. Lead, Prospect, Active…) while others like to group customers based on their type (Ex. Single family, Commercial, Apartment…). Some might like to use both.
Yardbook gives you the ability to add one or more tags to each customer, and you can filter your customers based on the different tag values.
Add tags from Customer List Page
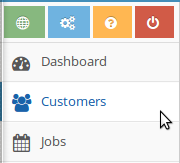
First, navigate to the Customer List Page by clicking on “Customers” on your left navigation menu.
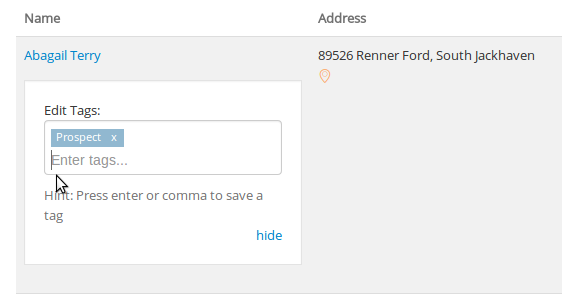
Click on the Tag Icon below the customer name, which will enable the tags text field where you can enter one or more tags.
![]()
Enter one or more tags, separating different tags by commas or by pressing the enter key.
These tags will automatically be saved into the system. Click the ‘hide’ link once you are done.
Add a tag from Customer Details page
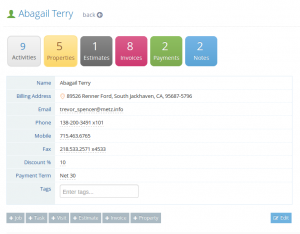
First navigate to the Customer’s detail page. Enter one or more tags, separating different tags by commas or by pressing the enter key.
These tags will automatically be saved into Yardbook.
Filter my Customers based on Tags
First, navigate to the Customer List Page by clicking on “Customers” on your left navigation menu.
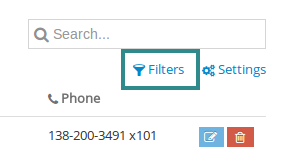
Click on the ‘Filters’ link near the top right of the screen.
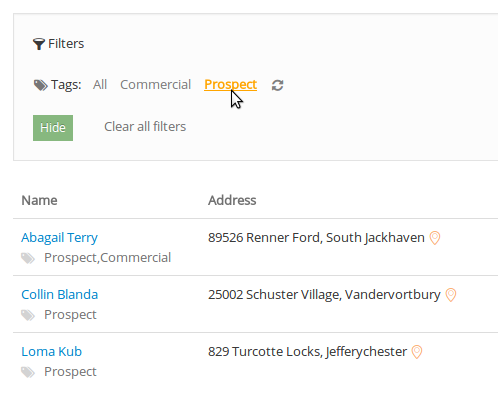
This will enable the tag filters onto the screen. Simply click on a tag name and Yardbook will automatically filter the customer list based on that tag.
You can also filter customers based on multiple tags. When this is done, only customers who match all of the selected tags will be displayed.
Remove a Tag
Click on the ‘x’ next to the tag you’d like to remove. The change will be saved automatically.
Hide tags from my Customers List Page
If you don’t want to use the Tags feature, or would like to de-clutter your Customers List Page, you can hide them on the Customer List Page (Tags will continue to show on the customer’s detail page)
First, navigate to the Customer’s list view

Click on the “Settings” link.
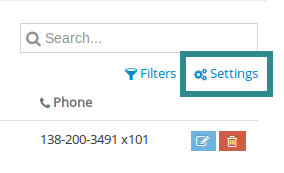
Enable the Don’t show tags in the customers list view option by clicking on the check box
Click “Save’

