Update 4/1/2016:
Based on user feedback, we’ve added the ability to automatically calculate the Past Due Amount for your invoices. Click here to read more.
——
If you’re getting ready to send out an invoice, and want to include a past due amount from a prior invoice, you can set the past due amount directly on the new invoice. We will cover the following topics in this FAQ:
- Setting the Past Due Amount
- Calculating the Past Due Amount
- What to do once you’ve received the payment
When you are creating a new invoice for a customer, you will get an alert message if the customer have any unpaid invoices. You will see the alert in the Invoice View:
Setting the Past Due Amount
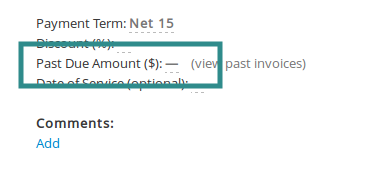
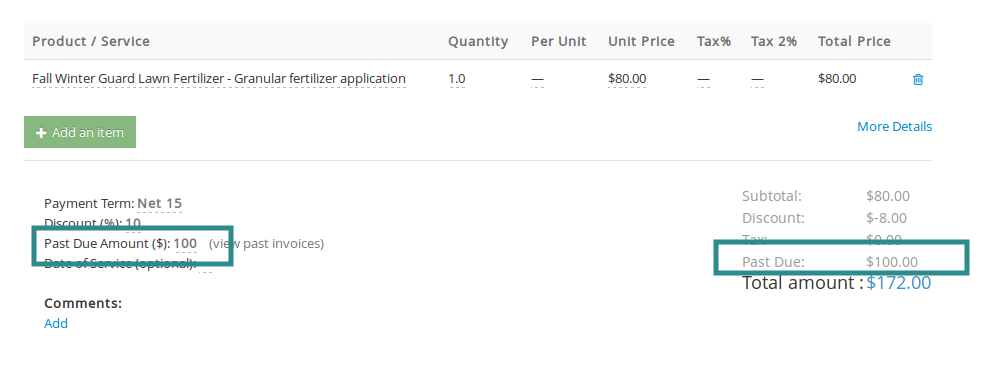
The Past Due Amount field is on the left side of the Invoice View, below the list of line items.
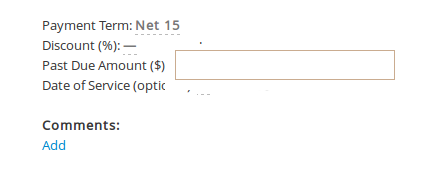
Click on the line placeholder next to the “Past Due Amount” field to activate the field.
Simply enter a past due amount here, and click outside of the text-field to save the change.
Now the invoice will reflect the change you’ve made and also show the past due amount in the total invoice amount.
Calculate Past Due Amounts
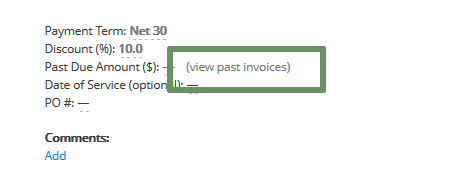
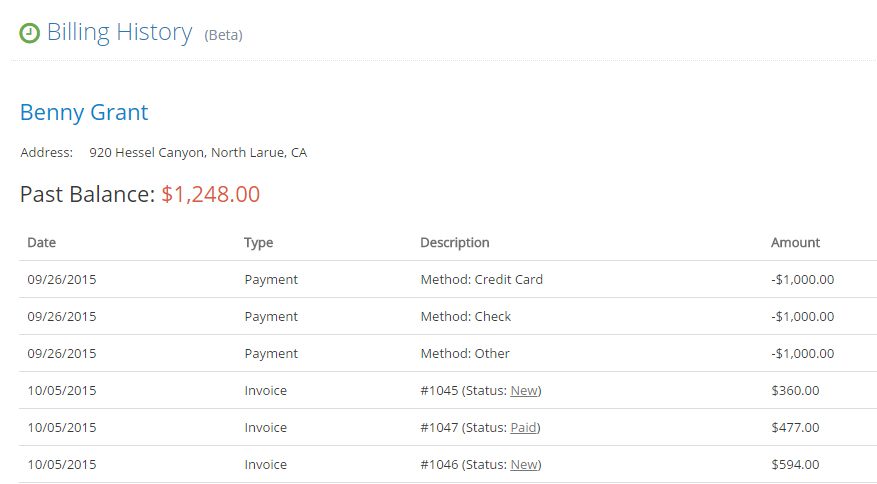
If you are not sure what the past due amount is, you can click on the “view past invoices” link to display a summary of all past invoices for that customer.
You can use the past balance from this page as the invoice past due amount.
Click the “Back” button to go back to your invoice, and set the Past Due Amount.
Receiving a Payment
Once you have received a payment for an invoice that contains a past due amount, you need to create a payment against the latest invoice. If that payment amount covers the entire invoice, the status of that invoice will automatically become “Paid”.
IMPORTANT – Since this payment covers multiple invoices, you should also go back to the related past due invoices and mark these as paid. You don’t need to apply a payment against those older invoices, but simply select “Set to Paid” in the Action Menu.


