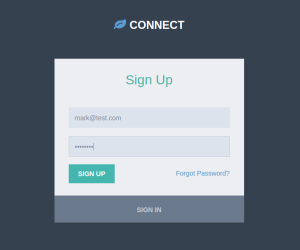
First, navigate to CONNECT website and click on “Sign Up” to create a new account.

Enter your new account information and click “Sign up”.
This will take you to the Account Setup Page.
In the initial setup, you will link to both Quickbooks and Yardbook, and run validations.
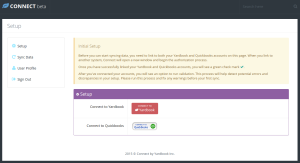
1 – Link to Yardbook
Click on the “Connect to Yardbook” button to link your account to Yardbook.
Follow the on-page prompt to enter your Yardbook Credentials. (If you are already logged into Yardbook, you will not need to login again).
Once you are connected to Yardbook, you should see a green check mark .

2 – Link to Quickbooks
Click on the “Connect to Quickbooks” button to link your account to Quickbooks.
This will open a popup window from Quickbooks which asks for your Quickbooks credentials. Simply log into Quickbooks and then Authorize the connection request.
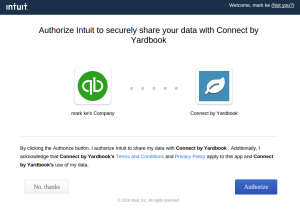
Once you are done, you will see a green checkmark next to Quickbooks setup.
3 – Validations
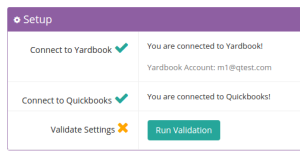
Since you are now connected to both systems, you’ll see a “Run Validation” button.

Click on the button to start the validation process.
This will run a number of critical checks before we start syncing data.
If everything is ok, you will see the following screen, with 3 checkmarks.
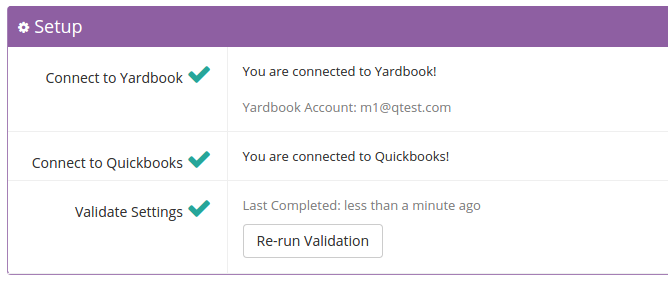
At this point, you can start syncing your data to Quickbooks.
If you encountered errors during validation:
Tax Rate Errors
- If you’ve set up tax rates in Yardbook, you will need to make sure they are also in Quickbooks.
- Log into your Quickbooks account, and click on “Sales Tax” tab, then proceed to add one or more tax rates in Quickbooks
- Please make sure the tax rate name and tax rate % match your Yardbook tax rates. If this is not set up correctly, you will get different sales tax amount across the two systems.
- If you have Automated Sales Tax enabled in your QB account, you can still set up your own custom tax rates matching the ones in Yardbook. More info.
Missing Account – Discounts
- You will need to create a “Discounts” account in QB before syncing.
- In Quickbooks:
- Click Accounting on the left menu and go to the Chart of Accounts tab.
- Click the New button and select Income in the Account Type field.
- Select Discounts/Refunds Given in the Detail Type field.
- Enter the Name “Discounts” and click Save and Close.